Post Mortem #1: Level Blueprint
We’re nearing the completion of one of our largest driving simulation experiment ever, which also was the first Unreal project for my colleagues involved and for our driving simulator (SIMAX). So let’s take some time to share what we learned from it, especially the non-trivial bits. Our first post will cover our use of the Level Blueprint.
The Level Blueprint isn’t so bad?
When you start exploring Unreal, using the Level Blueprint is very appealing. But one commonly shared bit of advice is to not use it (at least not too much). But for our very specific use case, I actually think the Level Blueprint can be very valuable.
The basics
Let’s do a basic pros and cons list of the Level Blueprint, from a general standpoint.
Pros
- It exists, so no need to create anything new
- It’s easy to use
- You can directly reference every actor in the level
Cons
- Everything in it has zero reusability
- Version control is hard
- You can’t diff it
- You can’t have more than one person working on it
- It can quickly become a huge bowl of spaghetti
- You need to load the whole level to view/edit the code
So usually, the advice is to use it to prototype stuff or for very specific and limited applications, but overall: move the code to dedicated Blueprints.
Our use case
The advice mentioned above is very sound and should usually be followed. But it’s never a good idea to blindly follow the mantra, and instead it’s always better to understand why it exists in the first place, and if the reasons behind it actually apply to any specific use case.
And in our case, the Level Blueprint actually makes sense.
The main reason for it is about the experience we create with Unreal: a long (>30 min) linear drive (route is imposed) where you encounter lots of unique situations, each involving many actors having a rather short lifespan. And we have a single developer working on it.
So for us, reusability of code within the Level Blueprint isn’t a problem: we don’t actually reuse any of it, as each “driving situation” we create is unique. Of course, you can think of many cleaner designs (such as having unique Blueprints for each individual “driving situation” actor), but most alternatives actually require more work and add more complexity. And though I really like neat and clean designs, I also recognize that perfect is the enemy of good.
Being able to quickly reference any actor in the scene, and having our whole “script” in one place makes editing and navigating through it much faster for the people working with it. Even though the drawbacks of the Level Blueprint that I listed above are very real, for us the benefits outweigh them.
I also need to mention that this doesn’t mean that the Level Blueprint is a good idea for driving simulation as a whole, or even for all of our own projects. It’s always a matter of getting a clear picture of what you intend on doing, and finding the best Unreal tool for it. For example, in the next blog entry, I’ll talk about a project which was implemented without ever using the Level Blueprint.
How we use it
Now that we’ve explained why we use the Level Blueprint, let’s dive deeper and cover how we use it efficiently to work around the cons we discussed earlier.
This actually still is a “work in progress”, because so far in this project we’ve only had two scenarios to experiment with.
For the first one, we actually used multiple Level Blueprints by having “scenarios” sub-levels. The split between sub-levels didn’t really follow the “driving situation” subdivision (each sub-level included multiple situations), but in any case that wasn’t an ideal solution:
- You have to to jump between sub-Level Blueprint to find what you’re looking for
- You have to ensure each actor is in its proper sub-level
- You don’t have an “overview” of the scenario, similar to what you have on paper
- It makes navigating the code a bit harder
- Some actors happened to be used across two sub-levels, which means you have to (soft) reference them
- It’s extra work
- It harder to keep track of what happens to it
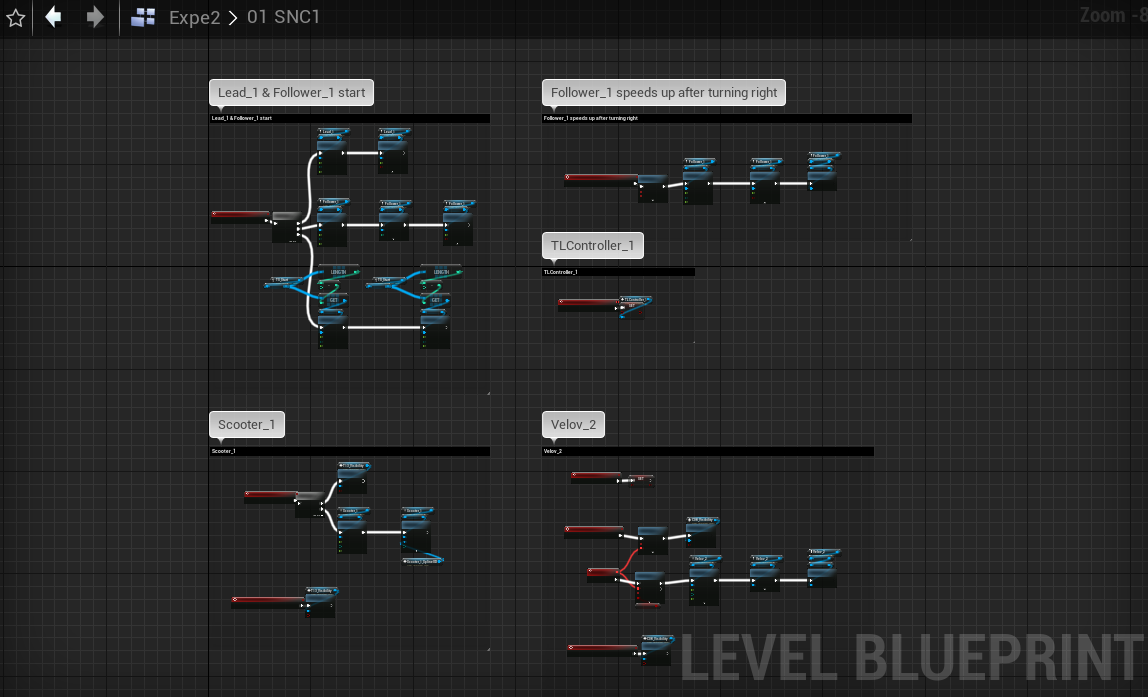
In the following scenario, we decided to change that and try having everything in the Persistent Level, which would solve most of the issue encountered in the first scenario. It actually works pretty good, and the developer in charge of this experiment is actually much more satisfied with this design: navigating is really easy, we can quickly find any reference to any actor in the Level Blueprint.
But of course, using a single Level Blueprint requires extra rigorousness to not end up with a spaghetti monster. For us, we made great use of subgraphs, which were created for each of our “driving situation”. It gaves much more flexibility and readability than actual split Level Blueprints, while achieving most of the same result.

And for each graph: keep things clean! The code is laid out according to the scenario description using comment boxes. We try to use a consistent scheme/style around our graphs, having defined how nodes are placed, and aligned, the spacing between them, etc. We’re actually better at following our Blueprint style guide than our C++’s!
And always be on the lookout for the rule of three, and think twice before copy-pasting anything. Most of the time, any copy-paste can be refactored into a (or multiple) new Blueprint, which will be reused within or beyond the project. We haven’t kept track of the count, but throughout this project, we’ve probably created dozens of very useful Blueprints by just trying to avoid copy-pasting nodes around.
Sometimes it’s tricky to know beforehand what the proper refactor scale is: should the solution be designed for this scenario? Experiment? Current project? Overall platform? When we don’t know, we just go around designing for the lowest scale, and we’ll just “move it up” later on when we have more use cases.
Refactoring has benefits all around: design is improved, re-usability is much easier and cleaner, and Level Blueprint readability is greatly enhanced by reducing the amount of code.
Conclusion
There are very good reasons why you shouldn’t use the Level Blueprint. Especially in games, it wouldn’t make much sense most of the time. But for our specific driving simulation project, it actually was a great tool to use, and it’s definitely something we’ll explore again in future projects.
Unreal has many tools for you to create your worlds and events, and there are always new ones being added (e.g., Data Layers, Level Instances). Try them all and figure out which one works best for you specific needs!