Making a scene
When you start implementing your driving simulator experiment, the first thing you’ll work on is probably the scene. You may want to reuse an existing one from a previous project, maybe modify it, or start from scratch to build something tailored to your needs.
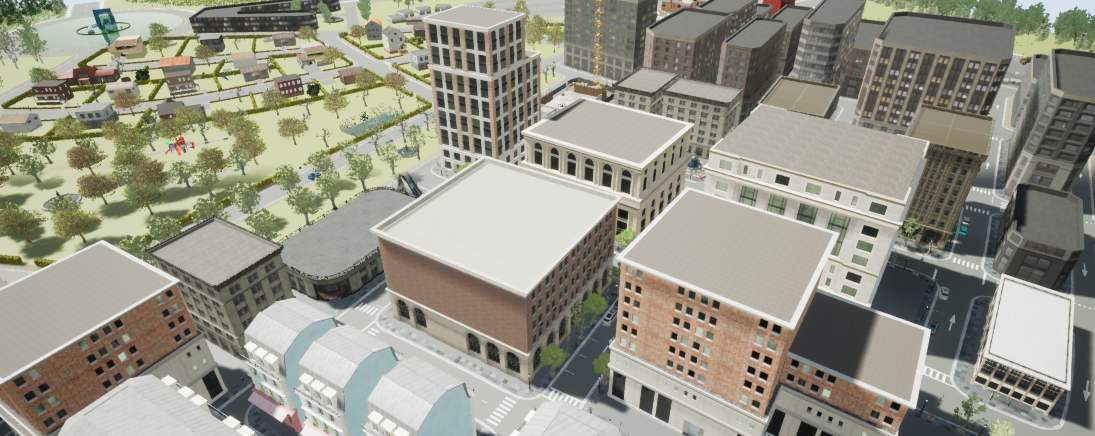
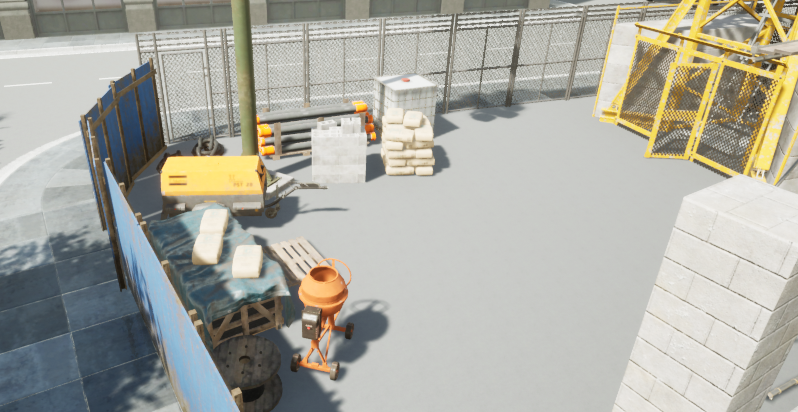
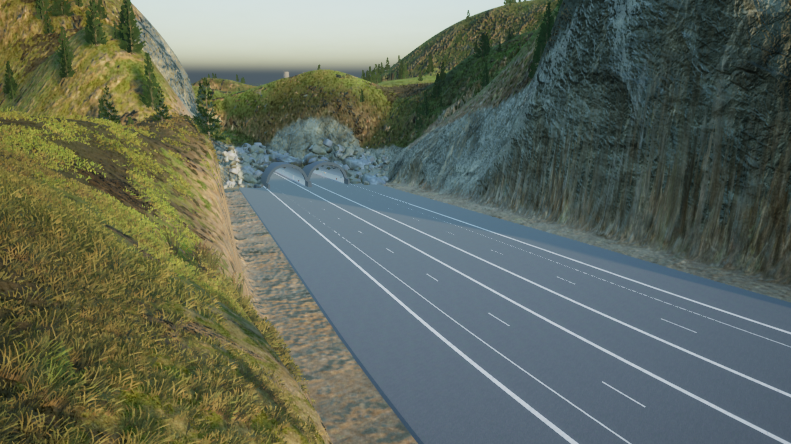
In this article, we’ll explain how we built the scene from the above screenshot, starting from nothing.
Road network
As we previously mentioned, the road network is a very important piece of our simulation, for which we need both the 3D representation and its logical description (i.e. OpenDRIVE). To do that, we use RoadRunner, which is our favorite tool for that specific work. If you’ve played any city-building game (e.g. SimCity, Cities: Skylines), you know that creating roads and cities can be quite a fun activity if you’re given the right tools. It really feels like RoadRunner understands that, and drawing any road network with this software is effortless and can even feel rewarding once you’ve accomplished your goal in such a short amount of time.
RoadRunner also offers tools to create the scene beyond the road network. This includes vegetation, buildings, etc. However, we’re not big fan of those features, as Unreal Engine has both more assets and tools to build your world from the ground up.
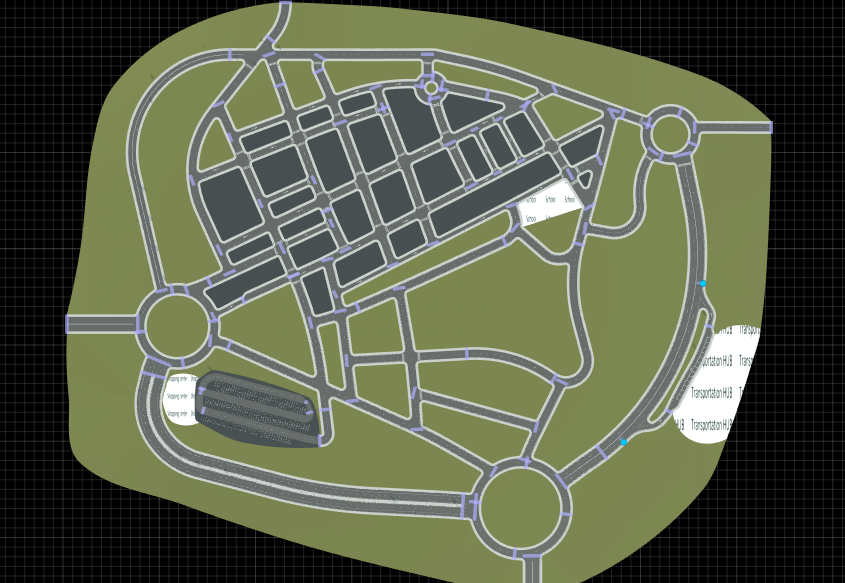
So what you see in the image above is the end product as far as RoadRunner is concerned. Roads, surfaces between them, and that’s pretty much it. From that, the import/export to Unreal Engine is also very simple, as RoadRunner offers native support to this engine (as well as Unity, and a wide range of other tools).
Above the ground
As mentioned, all our “above ground” scene creation is done within Unreal Engine, as it offers tools that are easy to use and ensure optimal performance, since we want our scenes to render at (at least) 60Hz.
Beyond tooling, Unreal Engine’s Marketplace offers a huge collection of ready-to-use assets, at very attractive prices. Epic Games is even giving away free assets as part of their Free For The Month and Permanently Free Collection. All that allowed us to grow our asset library at a very low cost.
It’s also worth mentioning that all of CARLA’s assets are free to use under a permissive licence (CC BY-SA, IIRC), you can find them here. They include everything you need to build driving simulation environments, so that’s a great way to get started.
Vegetation
Whatever type of scene you’re doing, you’ll probably want some sort of vegetation within it. From forests and fields along highways, to plants and trees along sidewalks, vegetation is something that makes your scene feel more realistic.
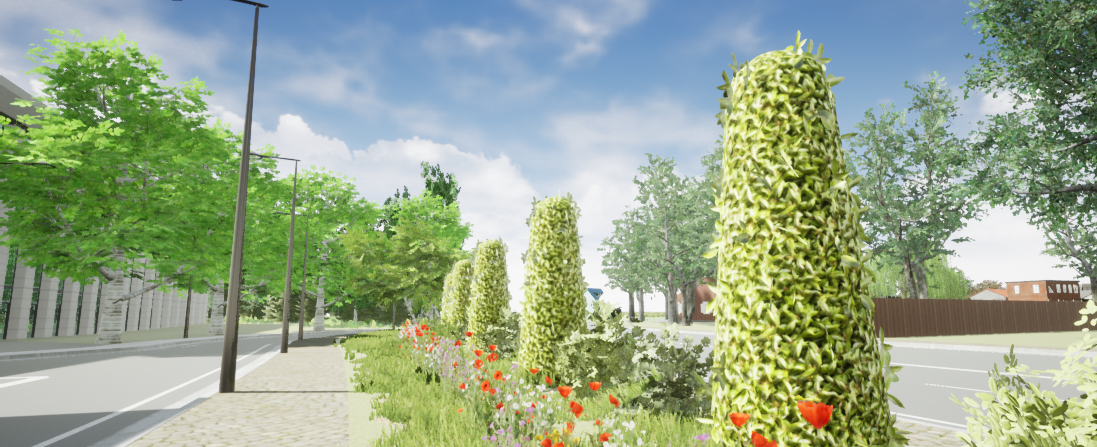
Unreal Engine has a great Foliage Tool, which makes it very easy to place large amounts of various kind of vegetation, all the while ensuring optimal performance, so that your framerate won’t drop even if you have a wheat field with 3 million blades.
The Marketplace has tons of foliage assets, some of them free! The Project Nature is one example of a multitude of high-quality and free vegetation. Between those, all the assets that went Free For The Month, and the whole Quixel Megascans collection, I don’t think we’ll ever need to buy a vegetation asset pack.
Buildings
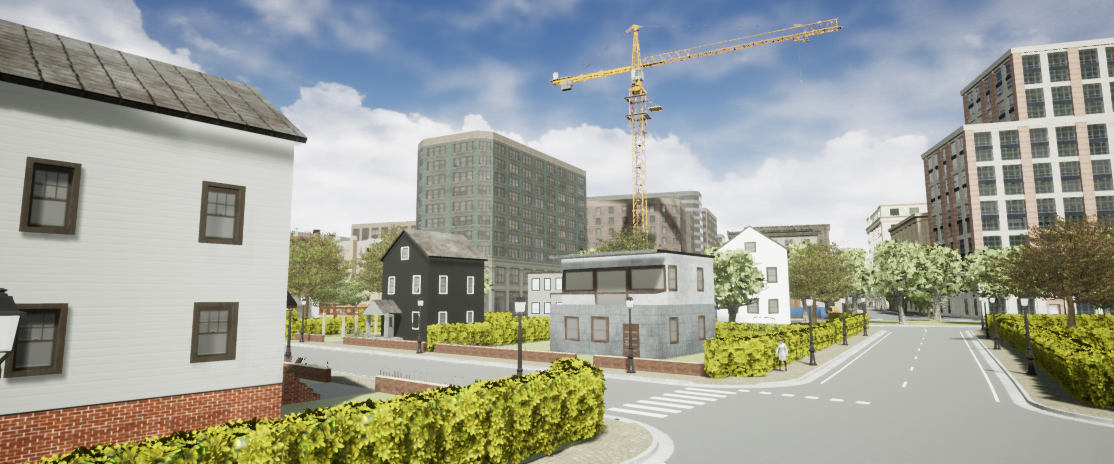
Unless you’re doing highway scenes, you’re going to want some types of buildings. And if you’re doing urban scenes, you’ll want those buildings to look nice up close, and not be a simple flat texture.
I went through all the Marketplace and looked at all buildings packages. We’ve bought a few, and I can recommend those we use most often.
By far, our favorite is City Downtown. It includes a lot of assets, and tools to easily create modular buildings or even fully procedural buildings, that even though are advertised as “background”, are realistic enough for us to use throughout our city.
This package also allows creation of custom buildings types, that can then be generated with its wonderful creation tools. So we’ve been able to import other assets, such as European Buildings or some Quixel façades, which by themselves are too cumbersome to manipulate to create full buildings. Now we can create a full row of Paris-looking buildings in a couple of minutes!
Some other assets we use include Urban City or Suburban Houses. If you’re interested, I can give a more thorough list of useful marketplace assets, but feel free to browse yourself.
Props
In the 3D world, props (coming from theater’s property) are all static small objects that are present in a scene. Those include poles, fences, streetlights, bins and so on. Same as other assets, you’ll find plenty of those on the Marketplace.
Placing them can be tedious, and also requires some creativity to arrange them in a realistic manner. Assets from the Marketplace often come with demo scene (e.g. City Asset Pack), which you can use as reference. To go even further, you can also find complete scenes (e.g. Downtown West, Construction Site), that contain a variety of assets, which you can use individually, or copy as a whole into your own scene.
The Marketplace not only has assets, but also tools. NVSplineMesh is a must-have for any props that you’ll want to distribute along a spline, such as fences or poles. The Level Design Assistant also makes your scene creation process much easier.
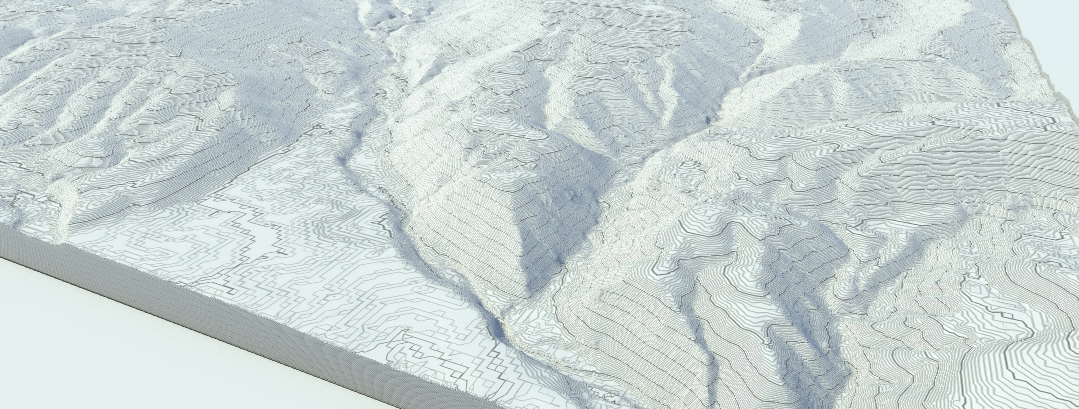
Landscapes?
One last thing to mention is the ability to create complete landscapes, or buy some from the Marketplace (e.g. France Fields, Landscape Smart Material).
However, landscapes imply modifying the ground, which is generated from RoadRunner. So if we want to have our roads following the landscape geometry (which we do), we have a problem on our hands. How to alter roads’ geometry to fit the landscape?
All our road manipulation tools are within RoadRunner, so we can’t simply edit the roads in Unreal Engine. Can we somehow import the landscape in RoadRunner? The answer is yes, but it’s not trivial.
Most Unreal Engine’s landscapes use heightmaps, which can be imported in RoadRunner using the Elevation Map Tool. However, Unreal Engine exports heightmaps to PNG, while RoadRunner can import IMG, DEM, JPG2000 and TIFF. I tried converting from PNG to TIFF using Pillow, but for some reason the generated TIFF file was invalid. I then tried the same conversion using OpenCV, and it worked! From there, you still need to ensure both software use the same scales and coordinates, but once it’s done, RoadRunner then has all the tools to align our roads with the geometry.
Another way to solve the problem is to look at it from the other side: how to alter the landscape geometry to fit the roads?
The answer to that is much simpler. Landscapes can be sculpted via Blueprints, and the roads’ geometry is known using OpenDRIVE. So if we just iterate over all roads and accordingly sculpt the landscape, we get a nice result.
This morning I wondered: can you auto-sculpt a #UE4 Landscape from an #OpenDRIVE file? The answer is yes, and as pretty much anything in #UE4, it's quite easy to implement. pic.twitter.com/dAW8cyBGCK
— Bertrand Richard (@brifsttar) April 2, 2021
We’re just starting to use landscapes, and it looks very promising. We’ll probably share more on that in the future.
Credits to Estelle De Baere, Lucie Lévêque and Jean-Charles Bornard for making the scene discussed in this post. None of them had any experience in 3D or scene building, making their work even more incredible.