Workflow in progress #1
What’s it like using Unreal Engine to actually implement a driving simulation experiment? What does that workflow look like? Well, we’re kind of learning as we go along, and this post is a first of a series that will look a bit closer at how things go from paper to simulator.
Context
Before going into how we do things, we must discuss who does them. We have the luxury of having not one but two simulation engineers who can be involved in driving simulation experiments. Which is also why we’re able to develop our own simulation platform in the first place. I’m one of those two, being more focused on the development of the platform itself, and the operation of our lower-scale simulator. My colleague handles our largest simulator hardware, and all the experiments running on it.
We work with researchers from various fields and background, meaning some have been deeply invested in driving simulation for decades, while others are doing their first immersive experiments. Our goal as simulation engineers is to tailor our workflow and processes to each profile, to ensure that each researcher can get the most out of our driving simulation making skills.
So the workflow discussed in this article definitely isn’t the one workflow we decided on. It’s what we landed on for this project, with this team, given our relatively small experience with Unreal Engine. But that’s what’s empowering about using Unreal Engine: nothing is set in stone, and we can decide to work a very different way tomorrow if need be. And that’s already happening, but that’ll make for another post!
Kick-off
It all starts with a very basic description of what the scenario will be. What’s a “basic description” you ask? Nobody knows, and since we don’t want to start writing detailed procedures of what it is, we just let the researcher tell us, in their own words, what it is they want.
In our case, it was a 3-slides deck, outlining a ~15 minutes scenario, split in 4 areas (each having a different overall actor density and environment). All areas were composed of a sequence of situations, like “pedestrian crossing” or “bike overtaking from the right”.
Such description is more than enough to kick off a project. From that point forward, we scheduled weekly meeting to discuss the progress made on the scenario implementation, and work out how exactly we want to work together moving forward. And over time, that evolved a lot, which is great! It means we’re getting better at this.
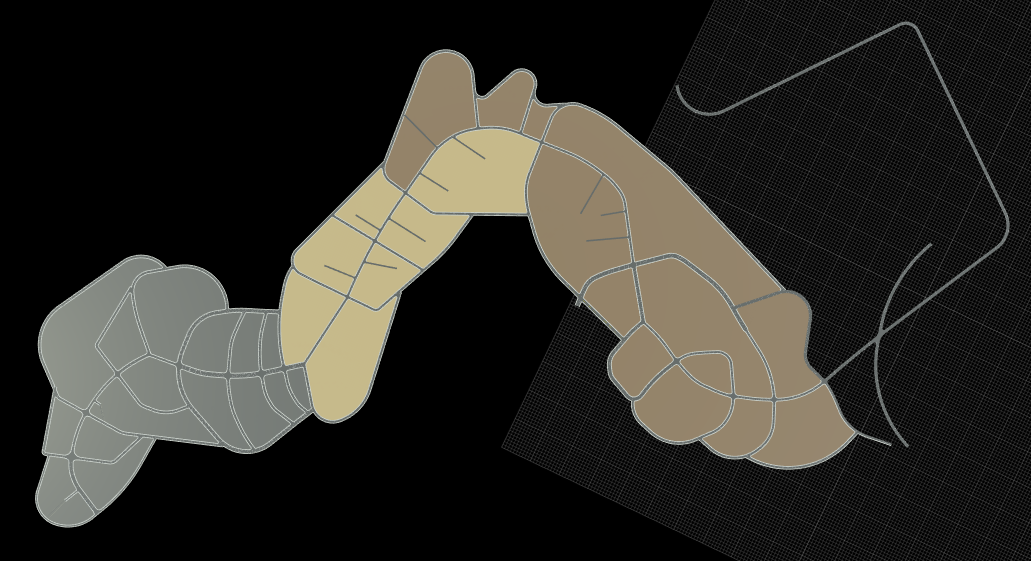
Areas
Since the initial description split the scenario into areas, we figured it would be a great unit to work around. So each area got its own sublevel, and we (well, my colleague, mostly) started working on the first one.
Road Network
We’ve already talked about how we create road networks, but it’s worth an update. We still use RoadRunner, except the tool is now better. Having custom-made french road style, and the ability to create new ones in just a few clicks, makes creating the road network as easy and fun as playing SimCity.
The back-and-forth between RoadRunner and Unreal Engine is no trouble at all. The newly added Datasmith feature makes exporting and importing the 3D scene shorter than ever, and our OpenDRIVE plugin also supports reloading .xodr asset files.
The ability to change the road network that easily actually is something totally new for us, and as many things throughout this overall workflow: old habits die hard. It’s sometimes difficult to grasp all the possibilities that are now within reach.
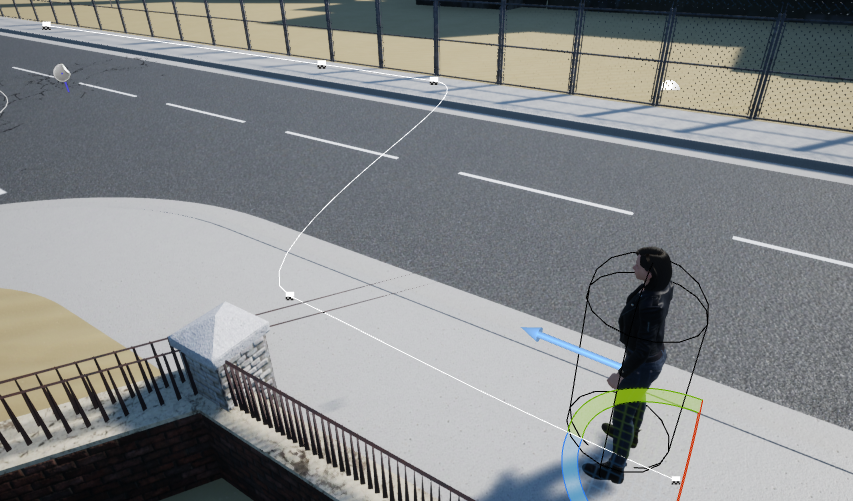
Core scenario
Once we have our roads in Unreal, we go straight to scenario. We don’t bother with set dressing: this will be done last. Indeed, the scenario will drive choices in terms of what asset to put where.
And by scenario, we mean core scenario, i.e., the main features and actors that the participant will interact with. For this project, this mainly involved “Vulnerable Road Users”. During this phase, we often go back to RoadRunner to alter the road network, for example if a curve turns out to be too strong, or a junction weirdly-angled.
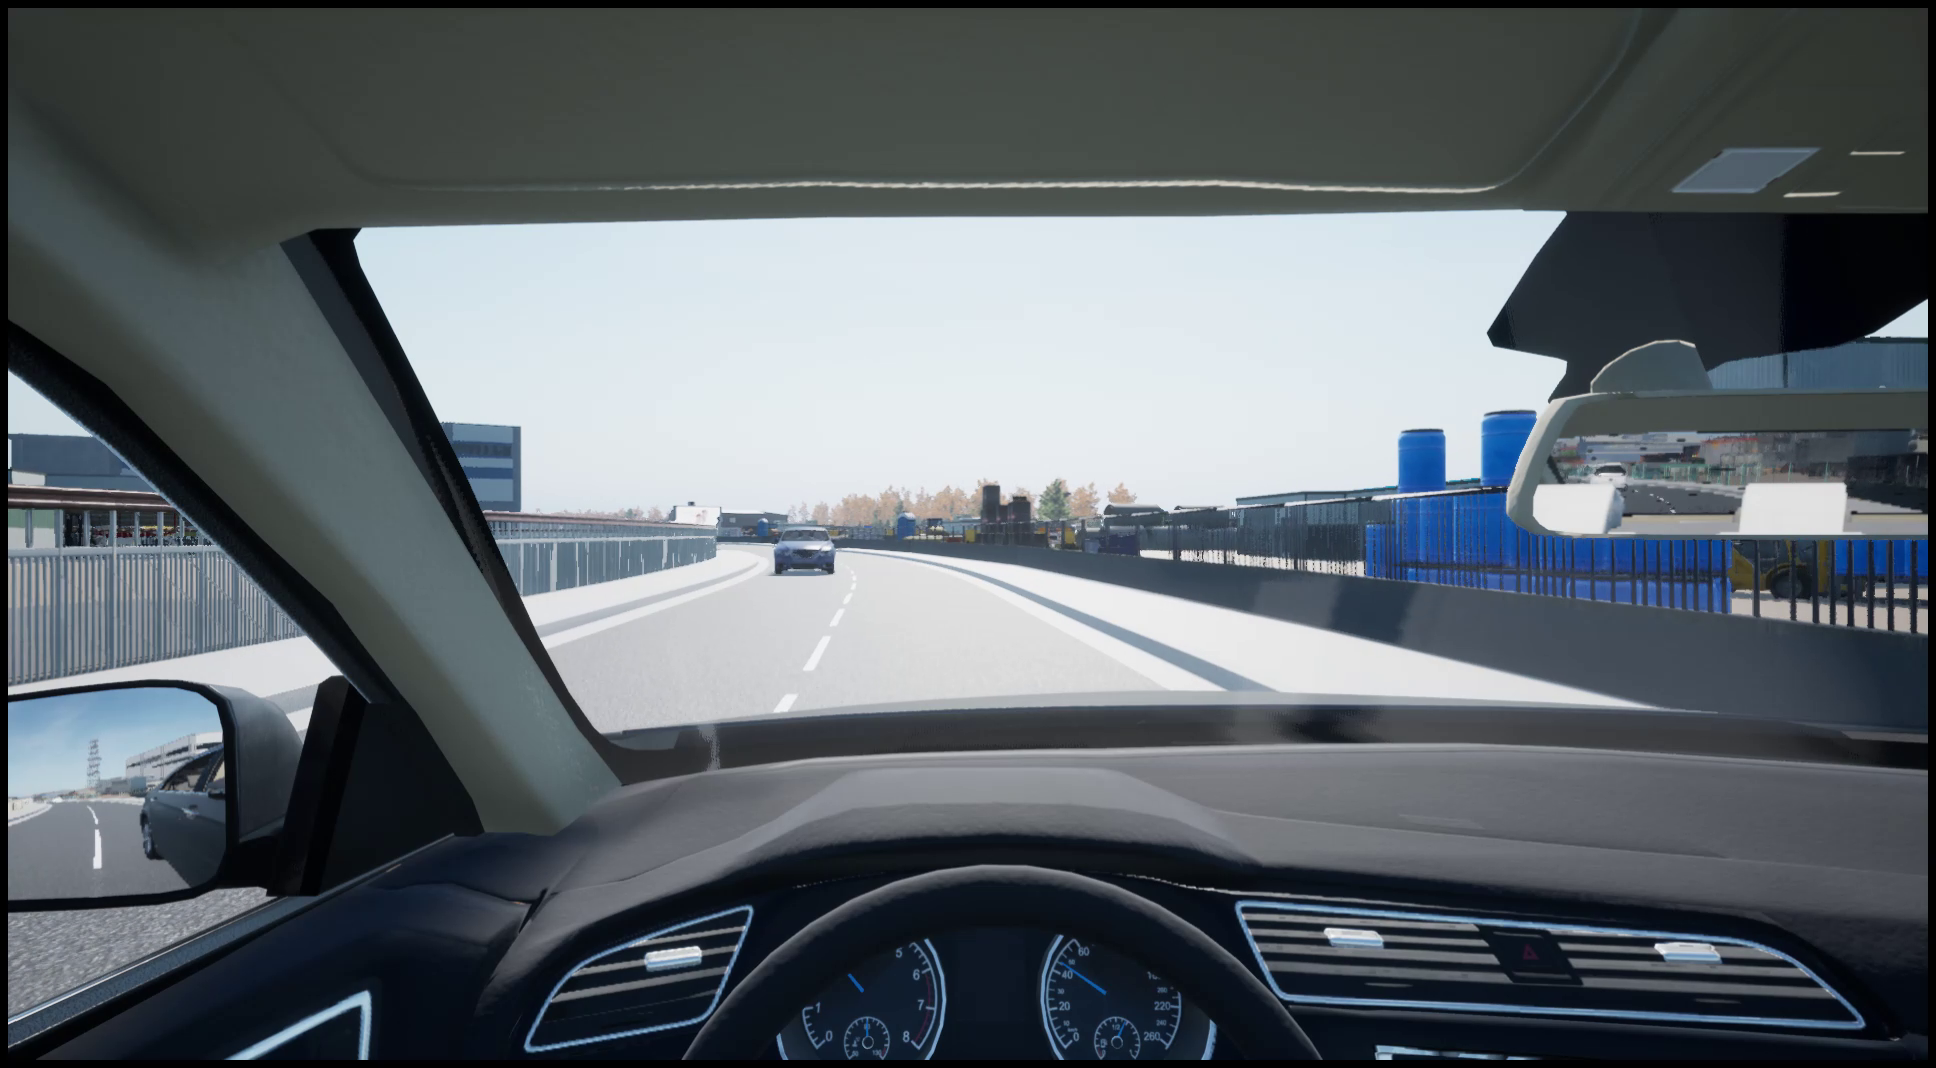
Ego
At the same time as the core scenario, we also implement an autonomous ego driver, even if the experiment is fully non-autonomous driving. Even though this brings a higher development cost, everyone involved in the project quickly realized how beneficial this was: no need to bother driving (requiring a gamepad or joystick), and we can speed up (and slowdown) the scenario to only focus on the situation we want.
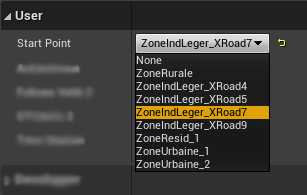
And we also quickly realized that with smart design choices, we could actually start the scenario at various locations. So we configured a few (using very simple Blueprint logic), and we can now select where to start the scenario at from a simple drop-down menu. Simple feature, but huge timesaver when working on a situation-rich ~15 minutes scenario.
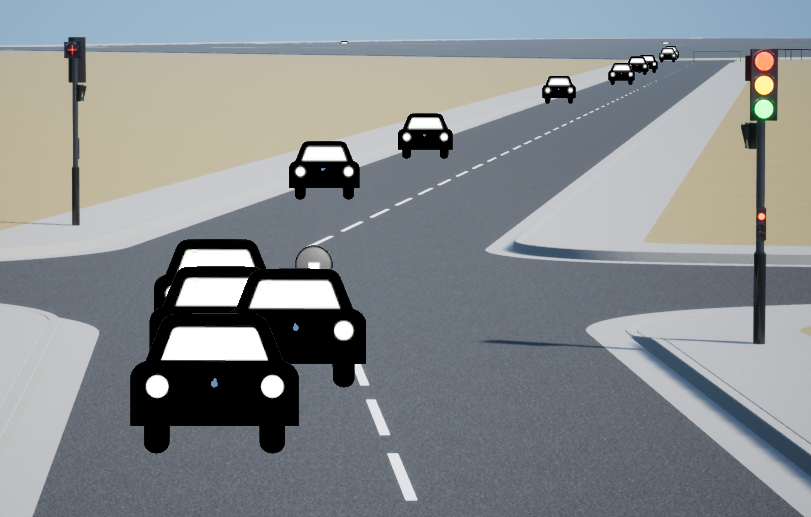
Traffic
Once the core scenario is running, we need to add actors that won’t directly interact with ego, but that will bring a lot of realism to the overall scenario. In this project, we mostly focused on road traffic, though adding pedestrians on sidewalks would also be done in this stage.
For this use case, we use a few trigger boxes set on ego’s path that can spawn and despawn vehicles at specific locations. Those vehicles rely heavily on the Virtual Driver’s Smart Features, meaning the scenario author only has to configure the bare minimum for each car (e.g. where to spawn, at what speed).
Implementing traffic once the core scenario is done ensures that it won’t misbehave around “main” actors, and that important situations still remain as initially designed.
Set Dressing
When all moving actors are configured, it’s time to add some verticality to our flat road-only world! For this project, we decided that this specific work would be done by the (very creative) researcher, while my engineer colleague worked on the previous steps.
This collaboration means heavily relying on version control, which isn’t exactly Unreal Engine’s best strength given our constraints. But using sublevels, patience (and forgiveness when things didn’t work out!), we managed to get it done. Hopefully, this should be the first and last time having to deal with that, since Unreal Engine 5’s One File Per Actor should make this type of collaborative work so much simpler.
Actual set dressing is done using our very large Marketplace Vault, which is (more or less) properly sorted using Collections, so that finding a building or light pole isn’t a major headache.
This entire #DrivingSimulation scene (WIP) is being created by a colleague, who happened to be a... psychology researcher! They're very talented *and* dedicated. #UnrealEngine + @UnrealMarket really empower us to create amazing immersive worlds for #Transportation #Research. pic.twitter.com/DYrHvH23bd
— Bertrand Richard (@brifsttar) June 30, 2022
Workflow in progress
The workflow discussed above is constantly evolving. When we started this project, we didn’t have any clue about how we’d be collaborating with this new toolset, and with such a variety of skills in our team. But that’s the great thing about using Unreal Engine: pretty much everything is possible.
As a tool developer, I just love being able to watch people use those tools. It gives instant feedback into what could be done better. For example, I added the ability to procedurally place road decals, using OpenDRIVE data, after having accidentally lost a week’s worth of hand-placed decals. Being deeply involved in projects, having weekly meetings with users, plus daily interactions; all that allows us to constantly improve our workflow, and pushes the limits of what we think can be done in our driving simulation.
This project is the first time using Unreal for my colleagues, and we’re still in the very early stages, but we’re all so excited about working together with these tools, and can’t wait to see what we’ll be doing in the future.